Group Nguyen Ursache others
Group members
- Dang Chau Nguyen
- Hoang Bach Nguyen
- Hoang Nam Nguyen
- Khai Nguyen
- Radu Ursache
Safety instruction
In order to turn on the laser cutter, you need to turn on the knob on the bottom right side of the machine. Then, you need to rotate the van for air to flow through the machine. Also, you need to turn on the van for smoke to flow out of the machine.
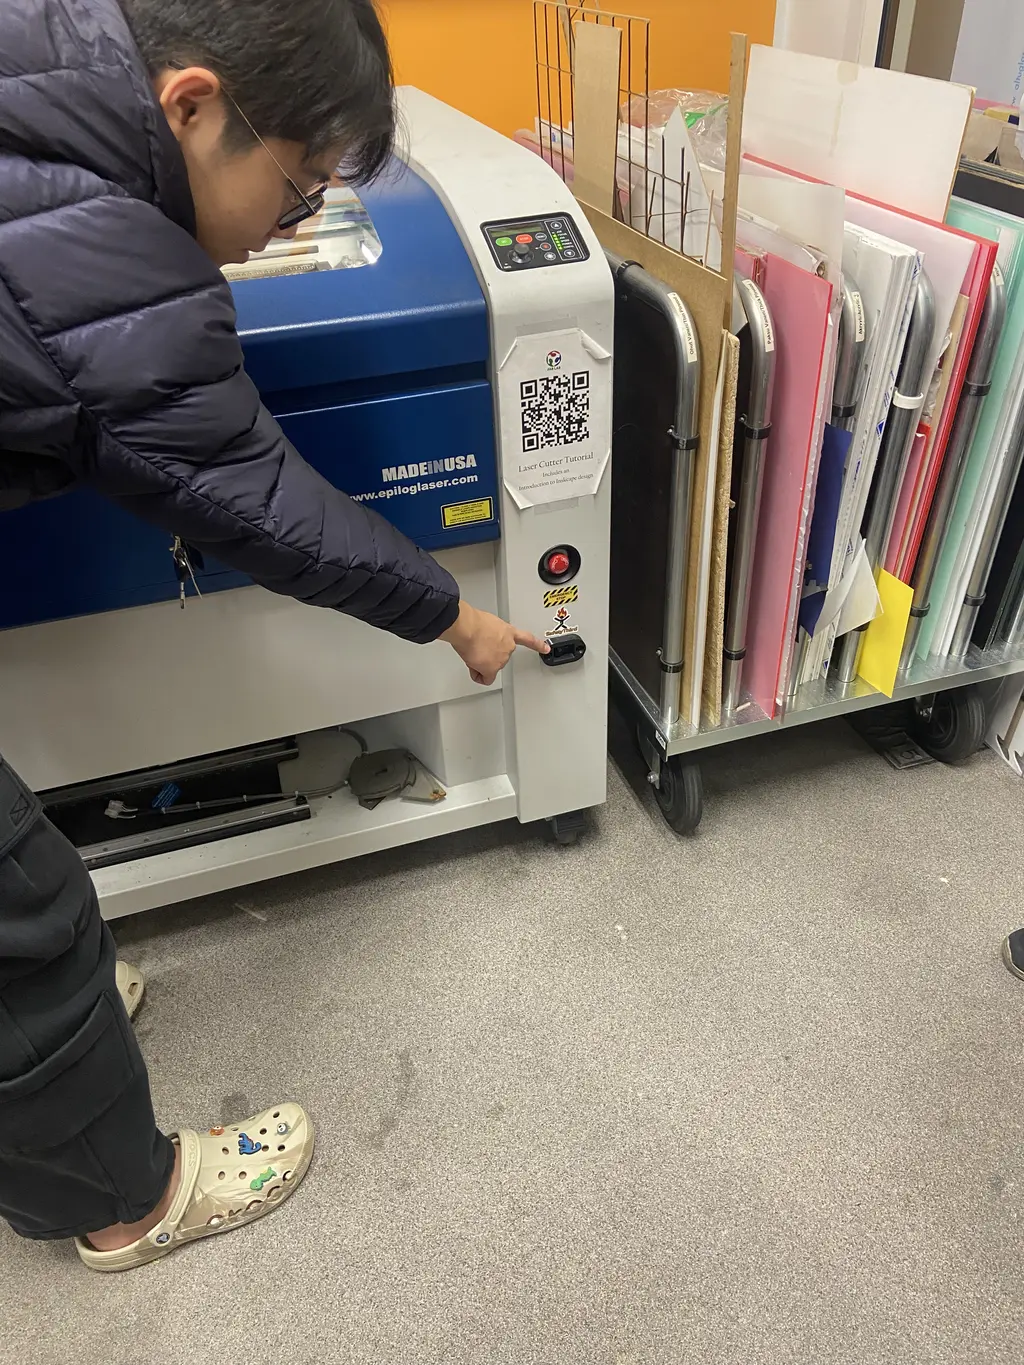
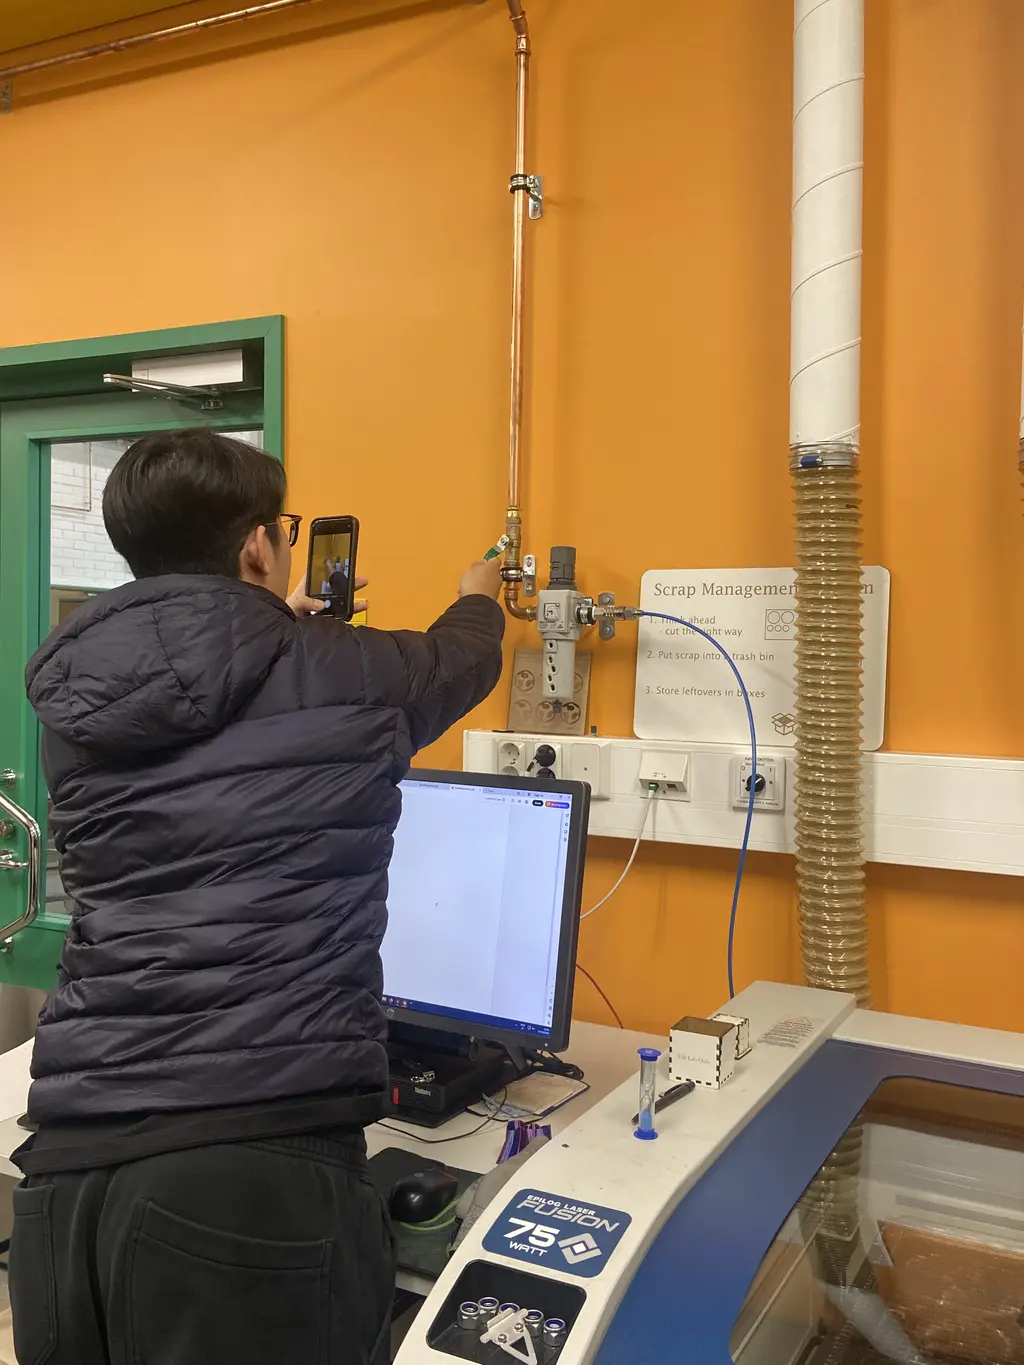
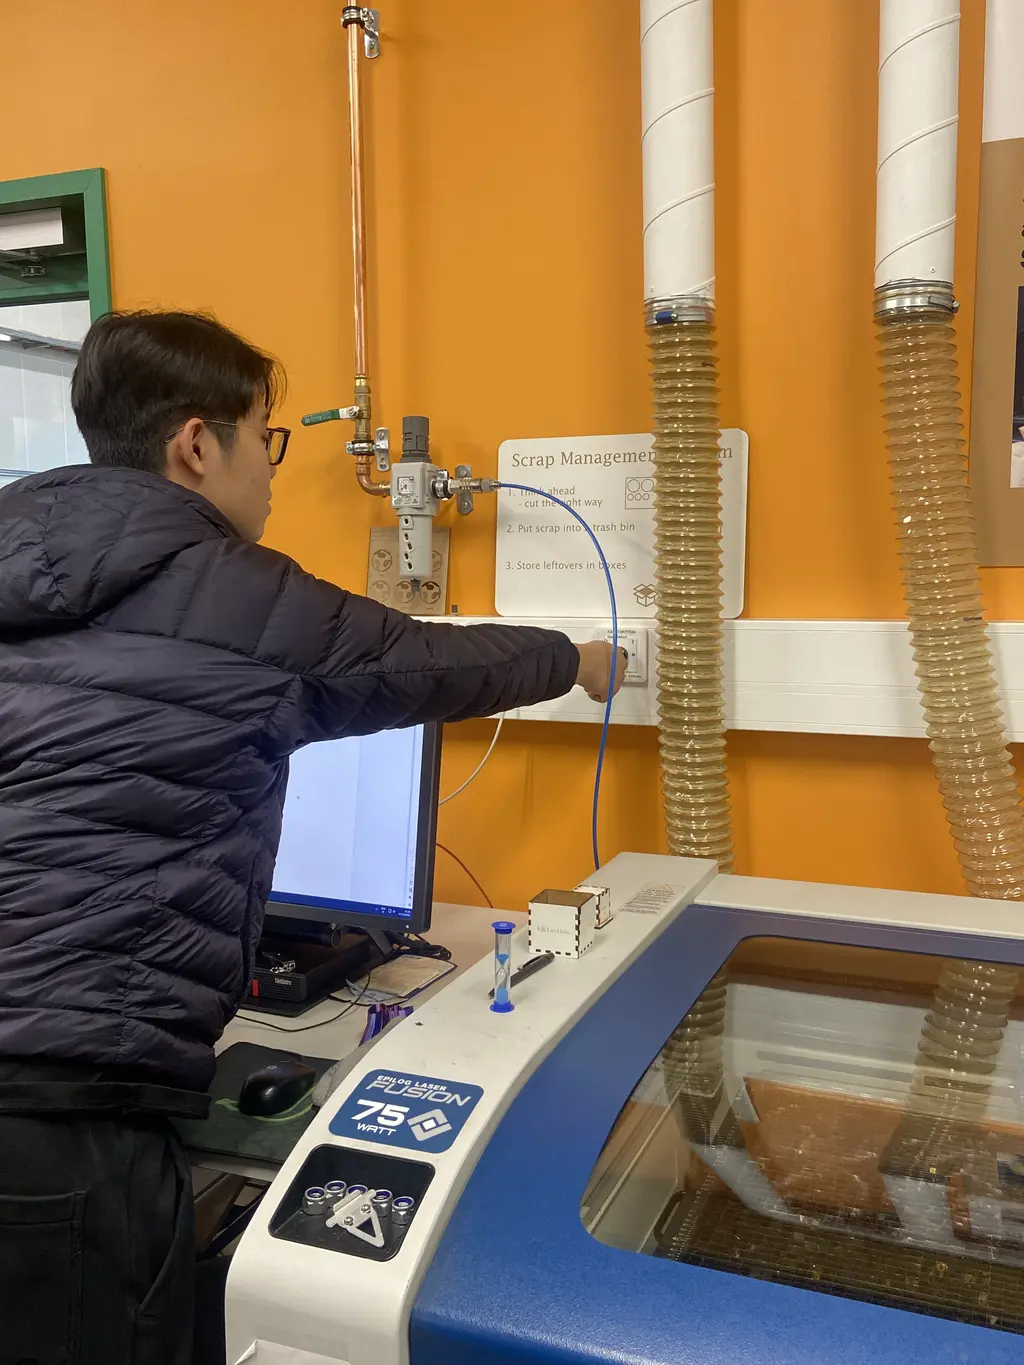
In case there is a fire inside the machine, never ever press the emergency button. Instead, we only press stop button on the control panel.
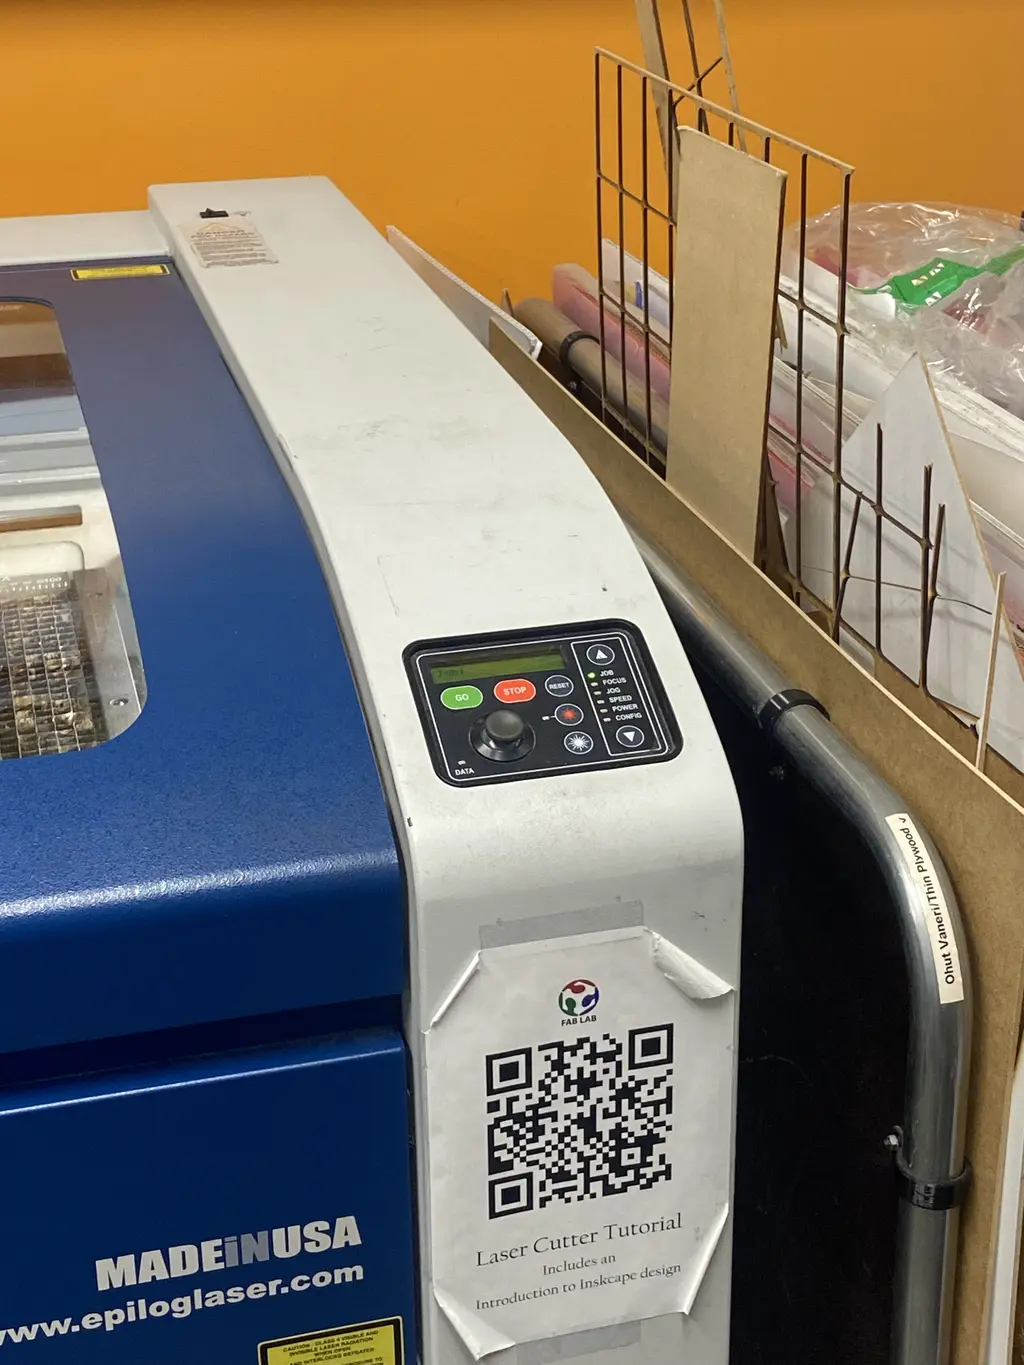
Important: whenever using the machine, the student needs to watch the machine all the time. By "watch", their eyes have to look at the machine, because it will take only a few seconds to make a fire become a disaster
The reason we should never press the emergency button is because when the emergency button is pressed, it immediately cuts off all power, including the laser, ventilation fan, air assist. Without airflow, smoke and flames will build up inside the machine, which worsen the situation. By pressing only the stop button, the laser beam stops cutting, while the air and exhause systems keep running, helping to put out of limit the fire.
The emergency stop serves a very different important scenario, it is not meant for "all emergency stop" purpose. It is to shutdown all electrical power to the laser cutter in case of machanical or electrical hazard, for example: A short curcuit, electrical fault, mechanical jam, or any unsafe situation where the situation cannot be contained, and the laser beam could harm a person. In those cases, the goal is to protect everyone by sacrifying the machine.
Laser Cutter Kerf
What is kerf?
Kerf is the tiny bit of material the laser burns away when it cuts. If you tell the laser to cut a 10mm square, the piece that falls out will be slightly smaller than 10mm because of the kerf. We cut a piece of wood material and measured how kerf affects the original length. First, we cut a square with 50mm length which was divided into 10 pieces. Each piece should be 5mm in length. When we measure, each piece only has around 4.85mm length. This means that the kerf is around 0.15mm on both sides of every piece.
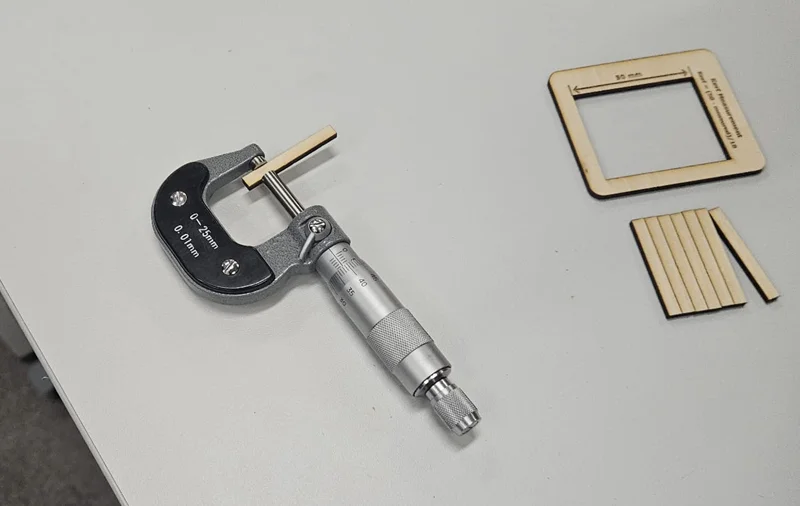
After that, we measured all 10 pieces and the length reduced to 48.5mm on total.
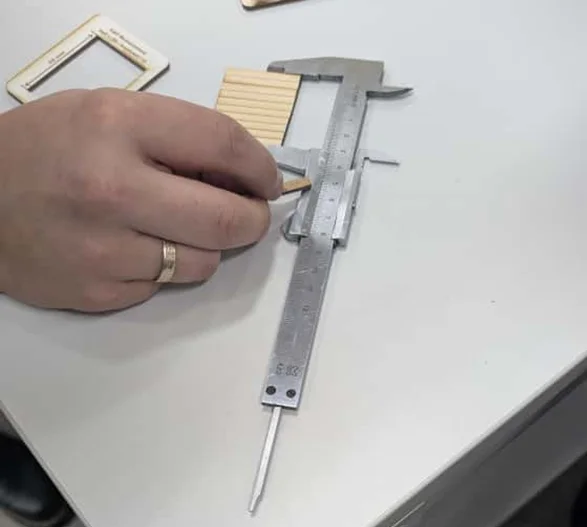
How do we measure it?
We used a “Kerf Test Comb”. This is a special design with tabs and slots that are slightly different sizes. After cutting it, we found which tab fit snugly into its slot. The value on that tab is our needed kerf.
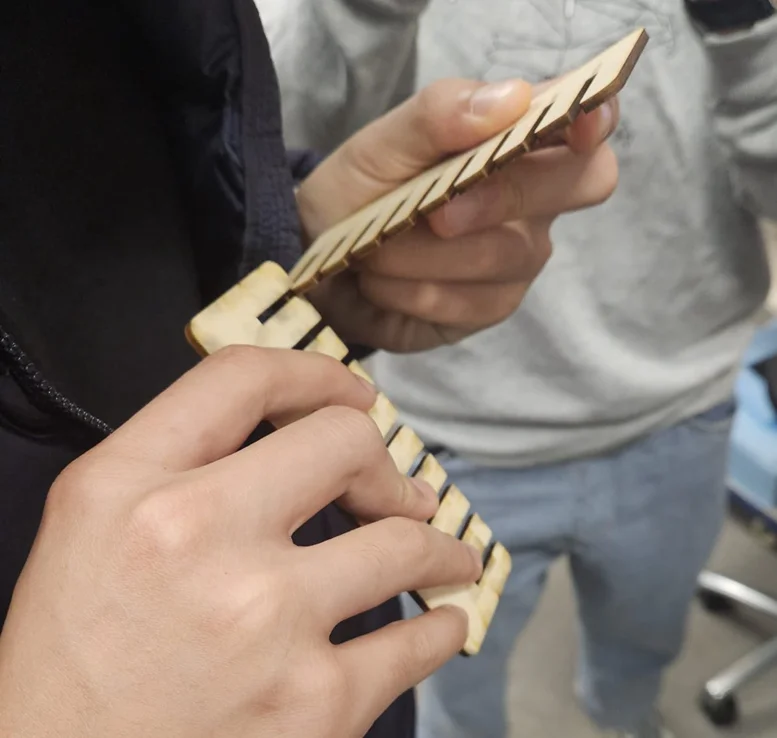
After we test this on wood material, we can design how the kerf is for pieces to fit with each other’s. This comb is useful when you design on new materials, and you can use this to find the kerf.
Laser Cutter Lens
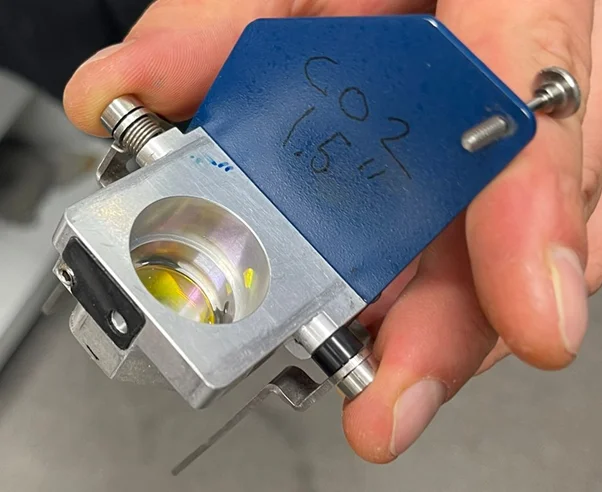
The laser cutter lens is the part where it focuses laser beam into one tiny spot. All the energy gathers there, and that’s what burns through the material to make the cut. It actually reminds us of using a magnifying glass to focus sunlight and burn paper. This is the same idea, just way more powerful.
This is how the laser cutter lens looks like:
And in our lab machine, this is where it is located:
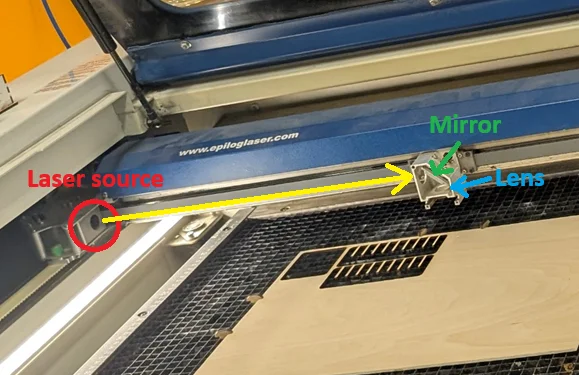
We would like to say that this is a very clever way, the main laser generator source is kept far away from the cutting area, so it’s safer and lasts longer. The source doesn’t need to generate a super tight, high-energy spot inside itself. This would make it very hot and wear out faster. Instead, it creates a wider, cooler beam, and focuses the energy outside using mirrors and the lens. The lens then takes most of the heat and wear during cutting. It’s still expensive to replace (around 500€), but that is a much better outcome than damaging a 45 000€ laser source.
Laser Focus
Before cutting or engraving with the laser, it is important to adjust the focus position.
What is the focus position?
The focus position refers to the distance from the focal point of the laser to the top of the surface you are cutting. The lens bends the laser into an hourglass shape, with the focal point being the point where the laser is the thinnest. In order to achieve the best results, the position has to be close to 0. Each laser cutter has a specific focus distance.
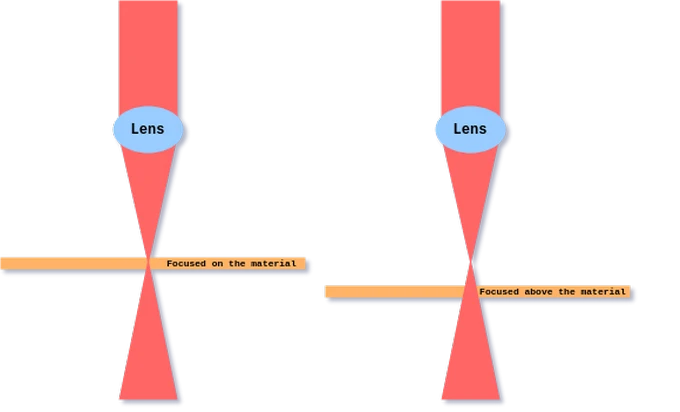
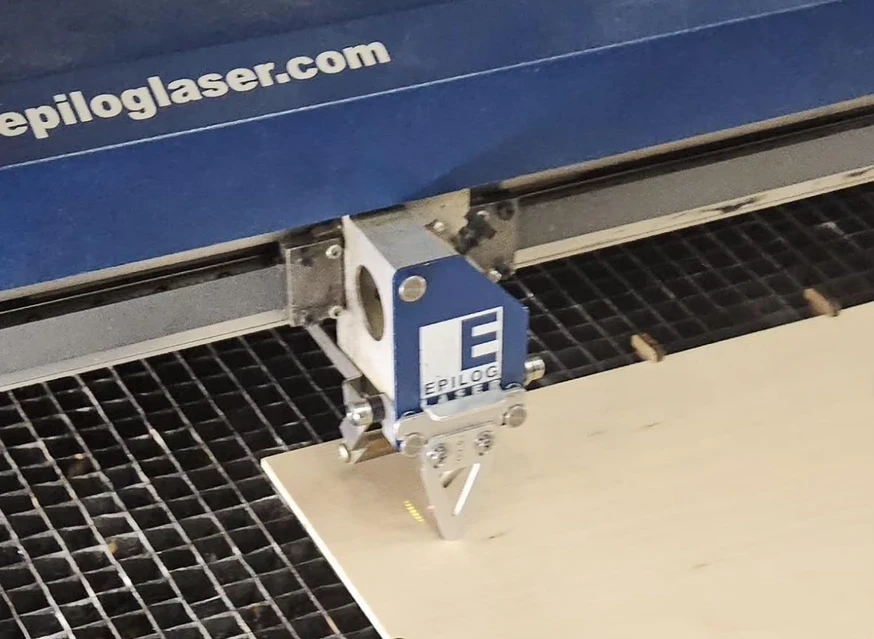
To set this up, we used a manual focus gauge. The material is moved up and down using the focus controls until it barely touches the gauge. After that, we click the joystick to save the position and remove the gauge.
Impact of focus adjustment
We ran a few tests with different focus positions to see how this affects the result. A positive position means the focus point is located above the material, while a negative position means the focus point is located under the material.
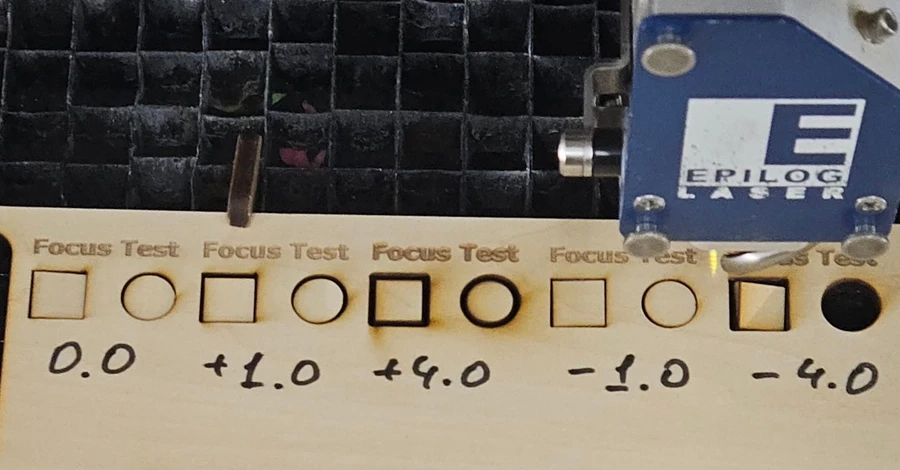
As we can see, the larger the distance from the focus point is, the bigger the radius of the laser is when touching the material. This results in a larger heating area, higher kerf and less precise cuts.
Testing the laser cutter's power and speed
Epilog Fusion M2 40 has a 75 watt CO2 laser. The power setting options available from the manufacturer for the CO2 laser are 30, 40, 50, 60, 75, or 120 watts.
Laser cutter · Wiki · Fab Lab Oulu / Fab-Lab-Oulu-Documentation · GitLab
This is the information from the fablab wiki and the info from the manufacturer Fusion M2 32/40
We tested the effect of setting different values for speed and power. We did 6 tests, each had slightly different outcomes.
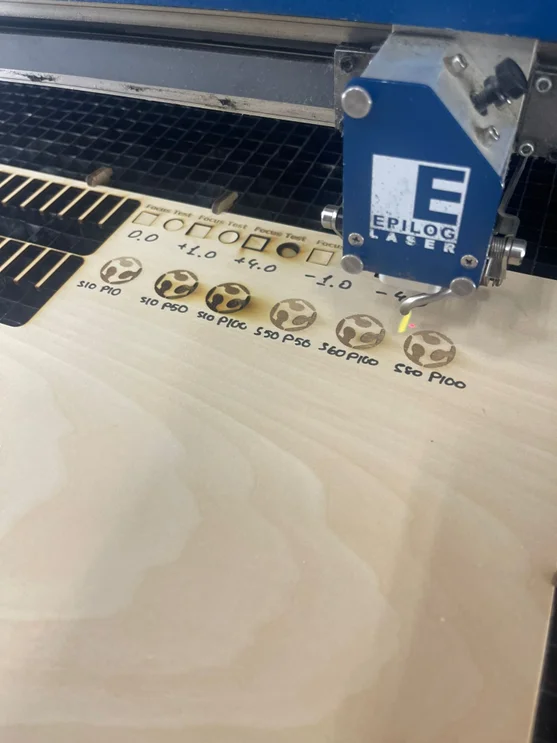 1. SPEED 10, POWER 10
2. SPEED 10, POWER 50
3. SPEED 10, POWER 100
4. SPEED 50, POWER 50
5. SPEED 60, POWER 100
6. SPEED 80, POWER 100
1. SPEED 10, POWER 10
2. SPEED 10, POWER 50
3. SPEED 10, POWER 100
4. SPEED 50, POWER 50
5. SPEED 60, POWER 100
6. SPEED 80, POWER 100
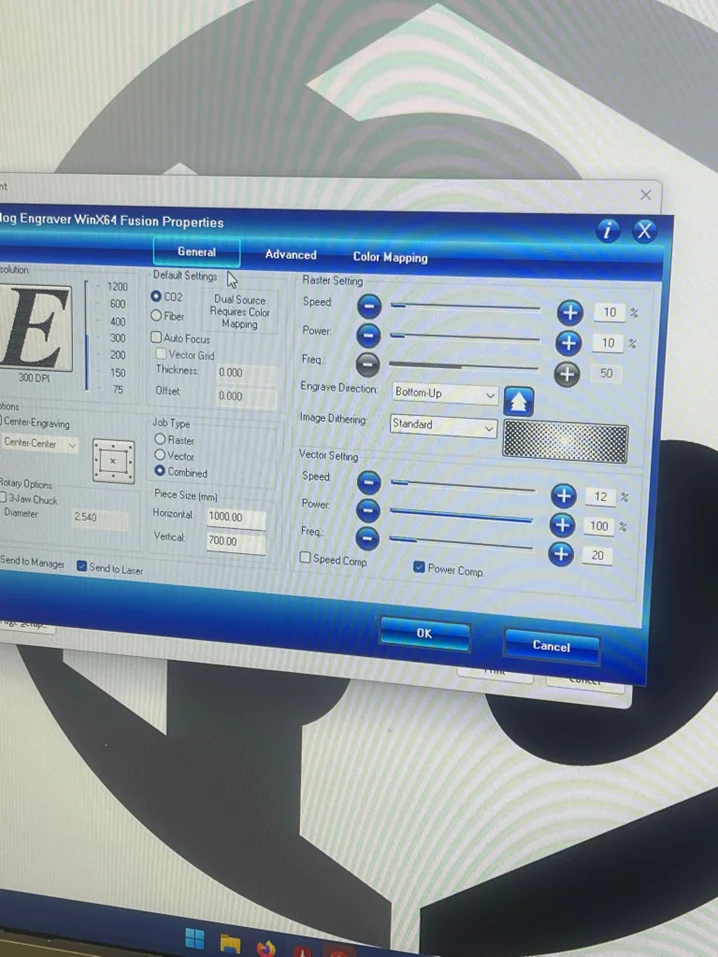 1st test, setting the speed and power to 10%
We saw the first 3 tests, we changed the power and kept the speed, as the power goes up, we can see the burn getting more intense and more residue. The more power, the darker the engraving is.
1st test, setting the speed and power to 10%
We saw the first 3 tests, we changed the power and kept the speed, as the power goes up, we can see the burn getting more intense and more residue. The more power, the darker the engraving is.
We can see how speed affects how fast the laser moves over the material. As the speed goes up, the less exposure the engraving gets, the lighter it is. This also works the other way around. This is evident on the last 2 tests, when power is maxed and only speed affects. 60 speed produces more burn than 80 speed.
Testing the laser DPI
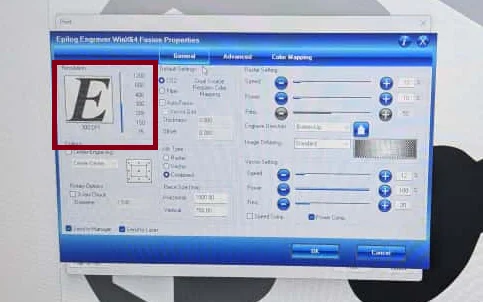
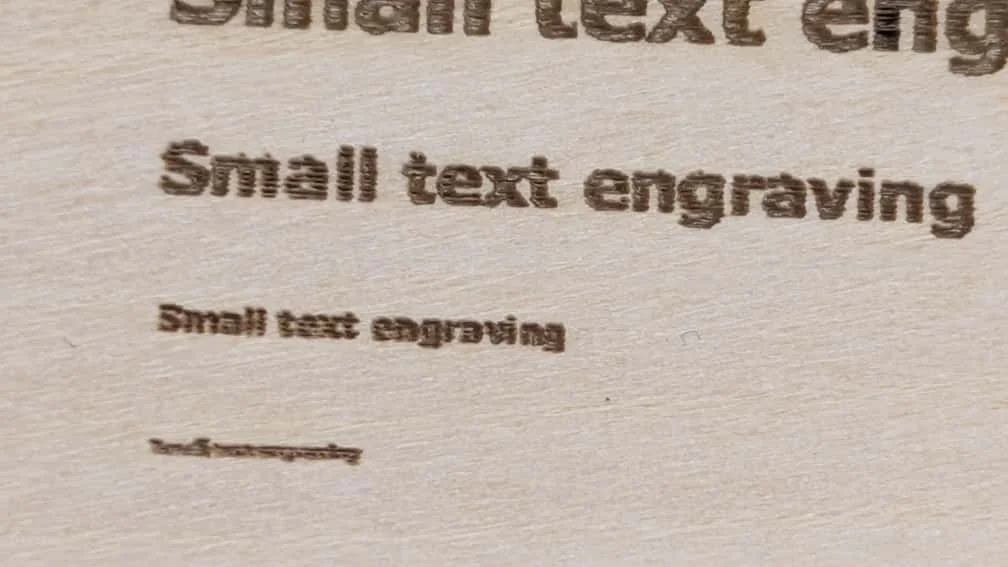
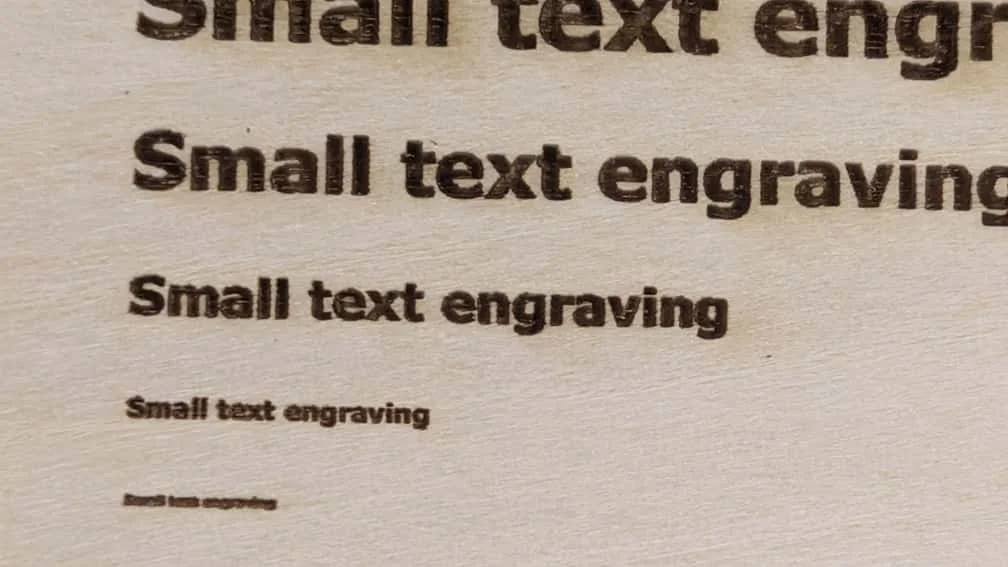
Next, we made the DPI test, we set power at 100% with 3 options: 300 DPI, 600 DPI and 1200 DPI.
We've done this by changing the DPI setting of the print dialog
Here is the result of the DPI printing (The printed board and the summary for the time it takes)
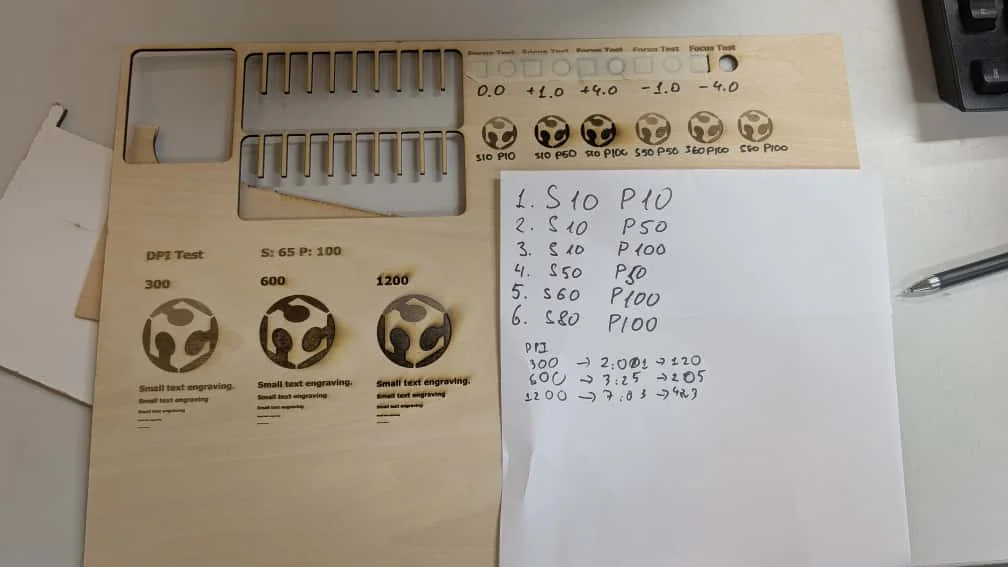
| DPI | Time | Time in seconds |
|---|---|---|
| 300 | 2:01 | 121 |
| 600 | 3:25 | 205 |
| 1200 | 7:03 | 423 |
So the more DPI it is, the more time it takes for the laser cutting to print on the board
Here is a closer look at the board for each DPI
300 DPI
600 DPI
1200 DPI
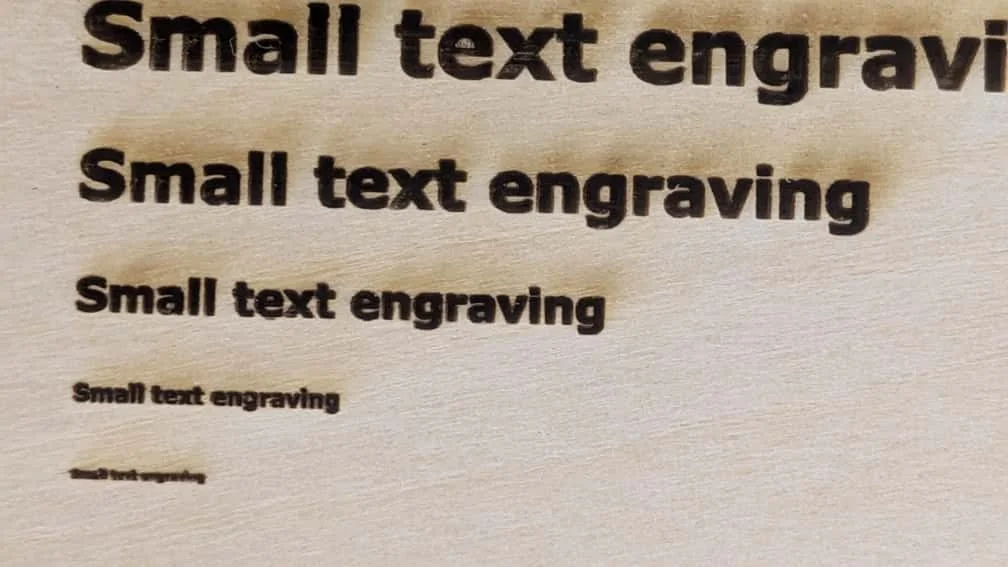
We saw a clear trend that the more DPI, the "darker" the printed part became. This is because as there are more "dots", although smaller size, the part between each dot became thinner, as a result, this is a bit equivilant to the wooden board received receive power
So we tested on how it would look like if we put half of the power instead for 1200 DPI
1200 DPI at 50% Power
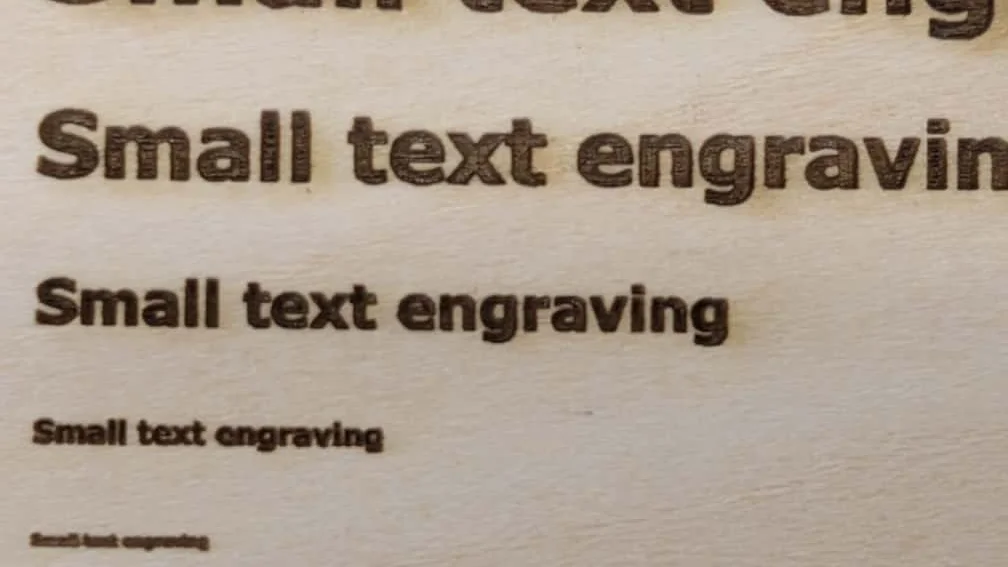
This engrave print took us the same time (7:03) with full power 1200 DPI.
The result look similar to 600 DPI and might be worse than 600 DPI from the image perspective, but it was our camera being out of focus. In reality, 1200 DPI at 50% power is better than 600 DPI at 100% power. Although the "shallow" of the engraved text is not that deep compare to 600 DPI version.